CAPO

Back in the early 80´s I started experimenting with designing and making a custom capo that would perfectly suite my needs and live up to all my demanding expectations. Since then a lot of time and energy has gone into creating what I believe to be the perfect tool. However, to insure the best results there is one structural prerequisite on the instrument itself. That being the distance between the strings and the top of the fretboard, at least up to the seventh fret, which should be fairly exact over the entire distance.

It's a fact that each and every instument varies from one to another. For this reason I decided the best solution would be to Custom make my Capos for each particular instrument to assure the perfect fit and functionality that makes this Capo so unique.

Unlike the standard Free-Swinging Capos, my Capo rests securely on the neck, just like the Nut. Which means absolutely no capo movement while playing, a major consideration for meaty pulls and hammer-ons. Another advantage is that all the String Vibration is directed entirely into the neck. The result is an unmistakable overall improvement in tone and sustain in comparison to the standard capo.

My Capo, in this form, is the result of years of experimentation with various materials, sizes, weights, and shapes etc. etc. I feel that with this Capo, I've got the best combination for the tone and sustain I was looking for. Taking everytihng into consideration, I got the best allround results with an iron bar that I polished up to a high gloss finish after doing all the cutting and drilling etc. etc.

When attaching the Capo there's no need to fiddle around with the right positioning, just slide it up flush to the desired fret and clamp it down. Putting pressure on the strings will obviously affect the tuning, which makes it necessary to "Tune" the Capo. After Tuning the Dobro to your standard G-Tuning, place the Capo on the second fret and clamp it down. With the help of an electronic tuner check the lowest string and tune it accordingly by adjusting the pressure of the screw nearest that string. Then repeat the same procedure for the top string. The result should then be a perfect A Chord.

Advantages:

Strong, Solid Tone
Fast and easy to put on and take off
Always in tune when capoed
No capo movement while playing
No damage to the fretbord or neck


Disadvantages:

Larger and heavier than other Capos
Custom made for one particular instrument
The following pictures demonstrate the right way to adjust the MARTinG capo:


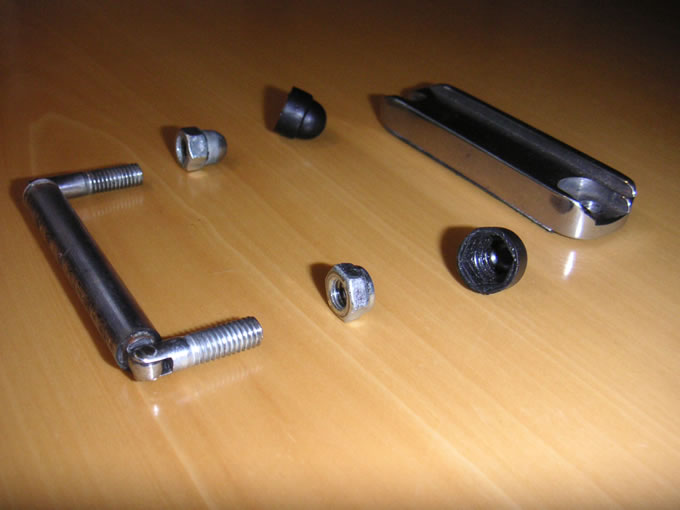
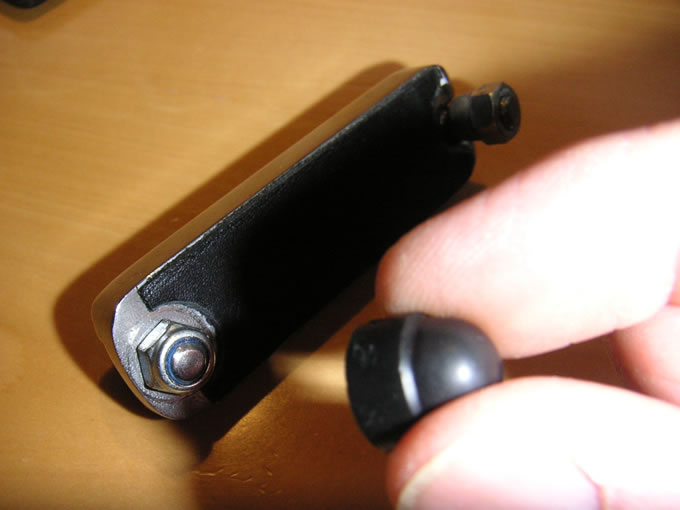
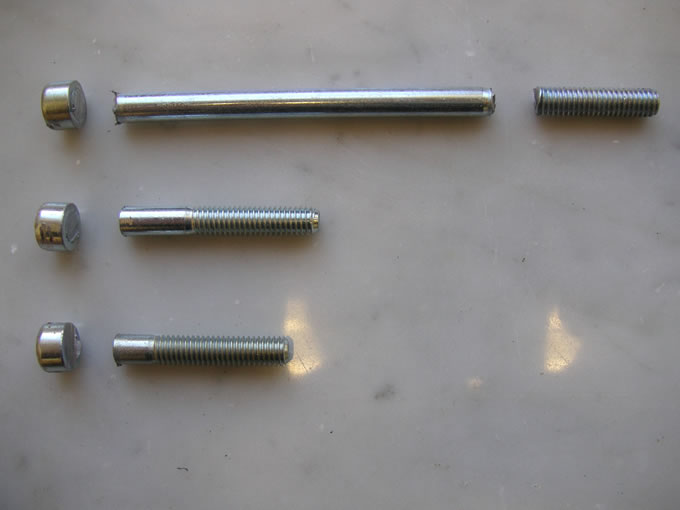
This picture shows the capo disassembled in it`s various parts. From left to right:

The capo-bar with the rubber tube that presses the strings down to the solid capo-body.
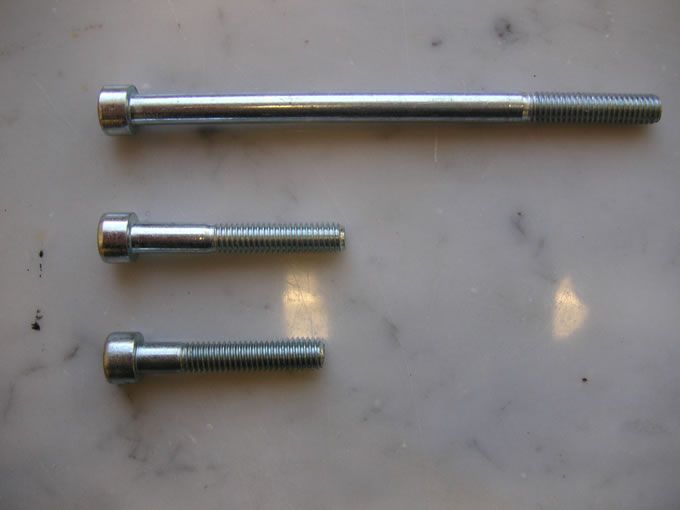
The screws for adjusting the pressure on the capo-bar.
Plastic screw-caps to protect the neck from scratches or damage.
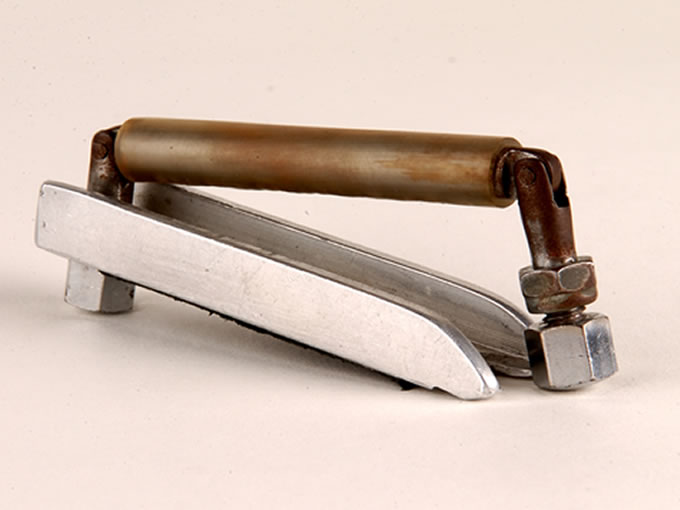
Capo-body made of polished iron. The solid body asssures a very good tone.


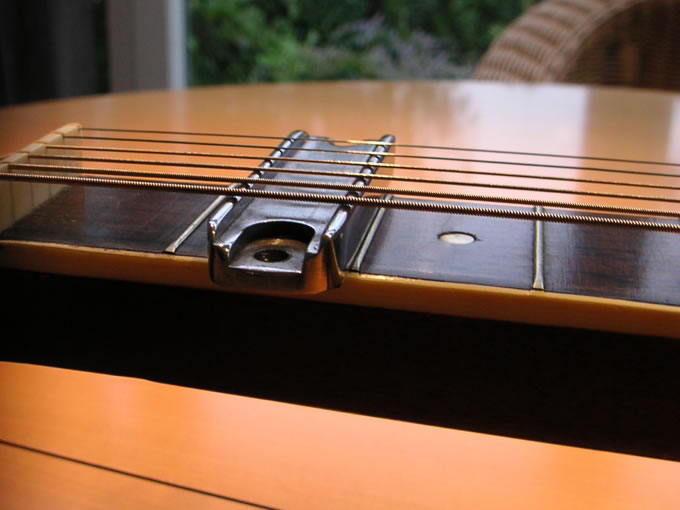
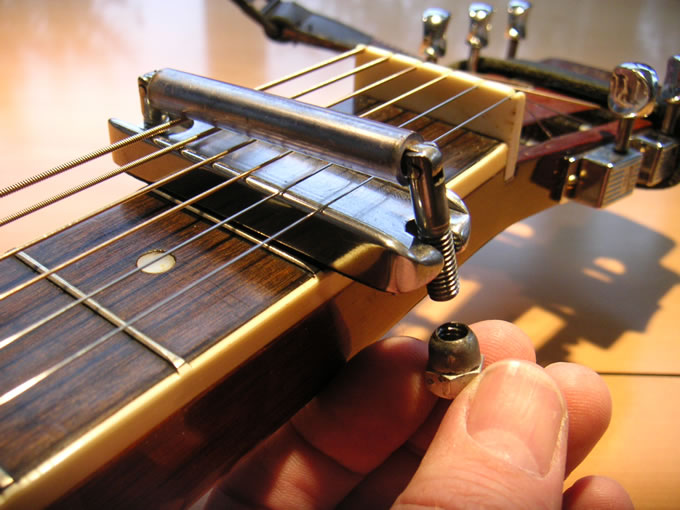
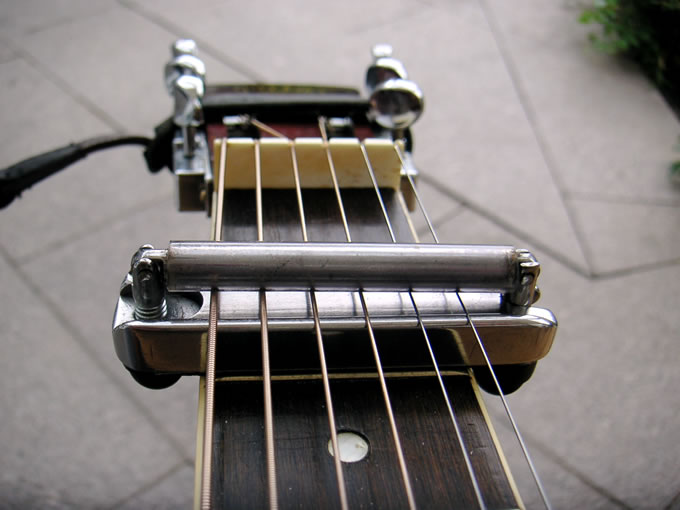
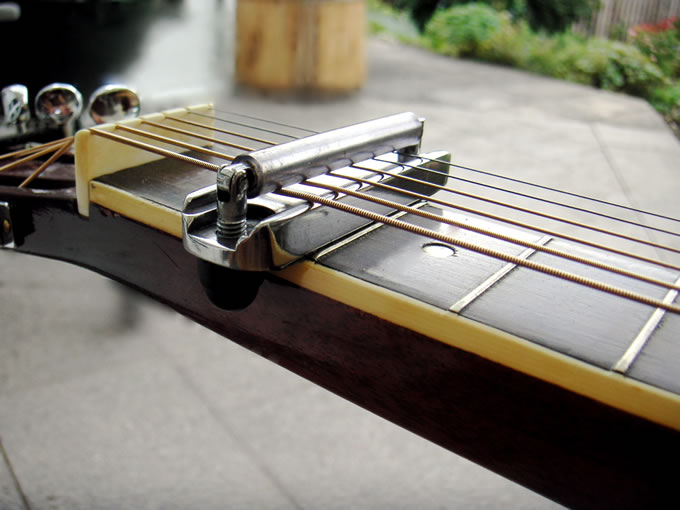
The stripped down capo-body placed on the second fret without any pressure beeing applied to the strings.
The capo is sitting losely on the neck just barely touching the strings.


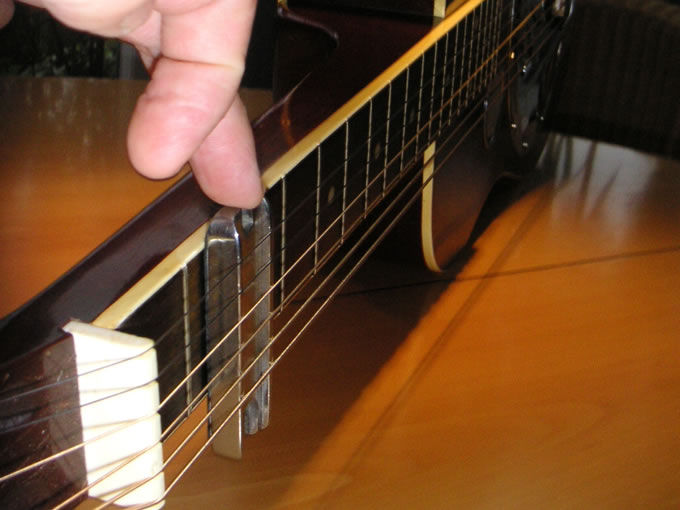
To demonstrate how lose the capo is positioned on the neck, I hold the instrument like a regular guitar to see if the capo-body slips off. When you can push the capo through the strings with a minimum amount of pressure then the tension is just right.


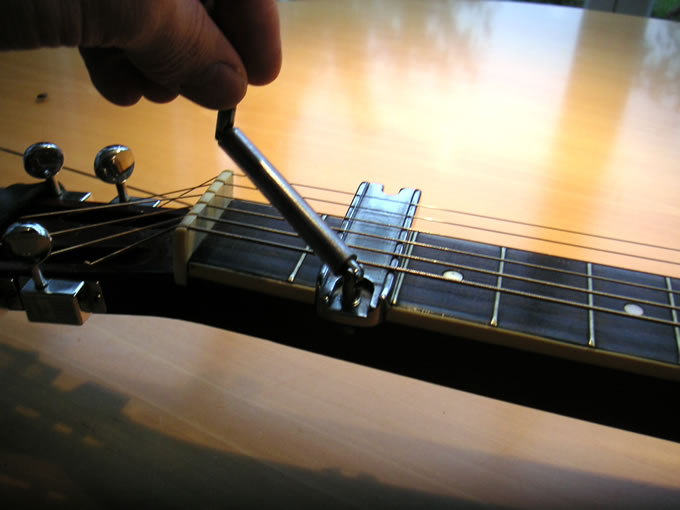
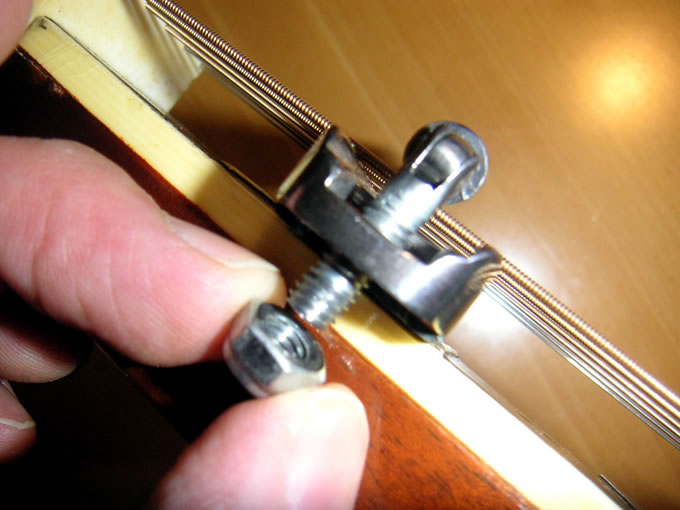
First step of the capo set-up. Tighten the screw, as shown above. The pressure on the strings is adjusted by 180 degree turns of the capo-bar. This determines the pressure you put on the bass string. To make sure you`re in tune I sugest using an electronic tuner.


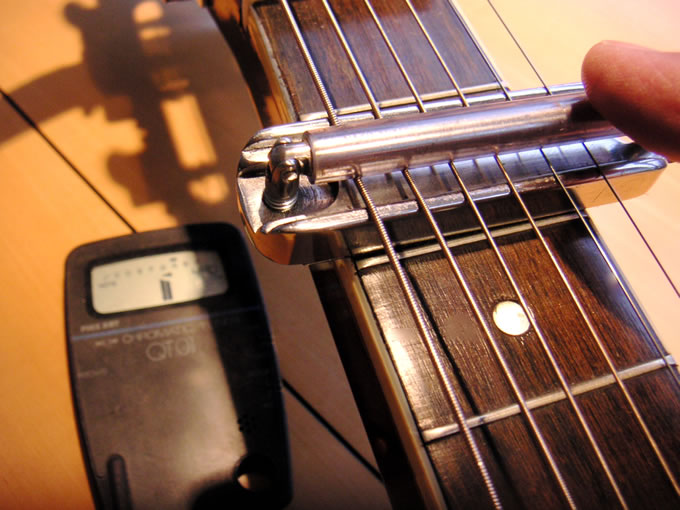
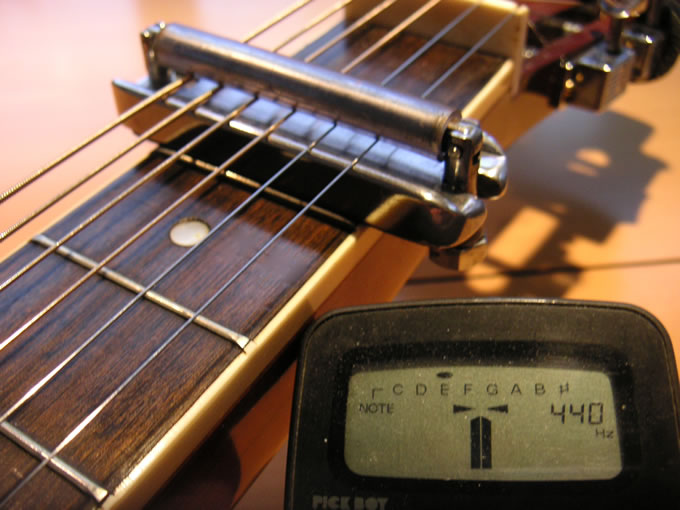
Here I`m pressing down the capo-bar on the second fret with the thumb of my right hand, while picking the low G-string.
The tuner shows the low G-string is a little sharp, so I need to loosen the capo-bar a half turn and check again.


Once the string is perfectly in tune, you can tighten down the nut on the capo-bar


Tuning the first string. First of all lightly tighten the nut on the other side of the capo-bar.


Adjust the nut until the first string is in tune. Make sure you`ve got a nice clear A chord.
Take off the capo and check to see if your still in tune in G.


When finished "tuning the capo" you can cover the screws with the plastic caps. Notice the leather backing that protects the fretboard.


Generally this only needs to be done once.


After using the capo for awhile, I`d suggest re-checking to see if you`re still in tune.
The pressure on the rubber tube especially in the beginning, can vary.

-----------------------------------------------------------------------------------------------
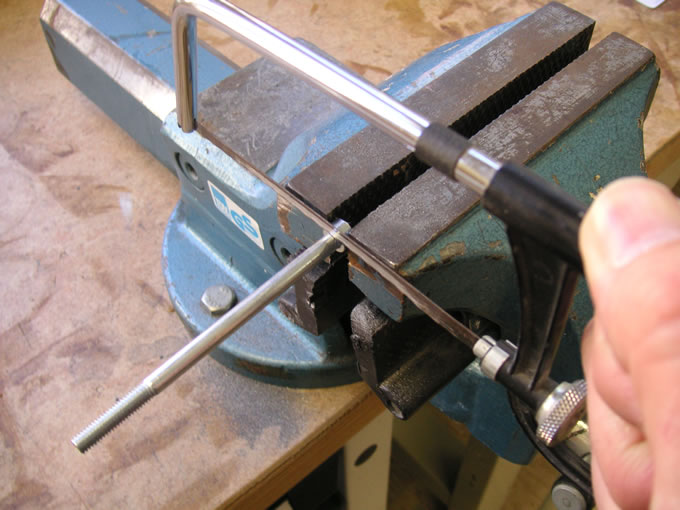
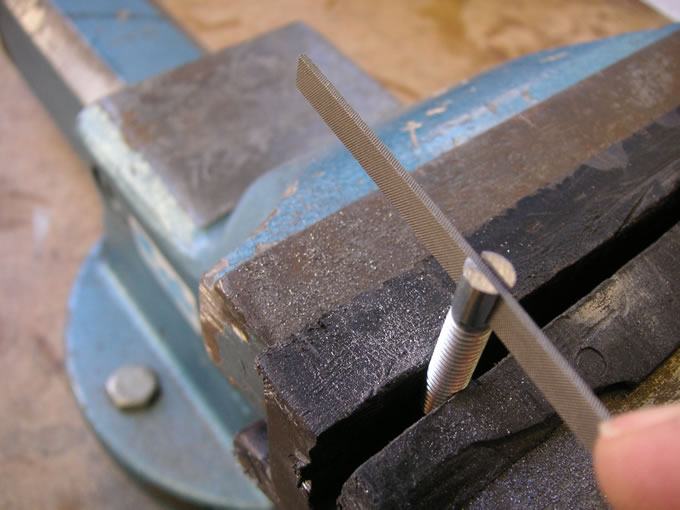
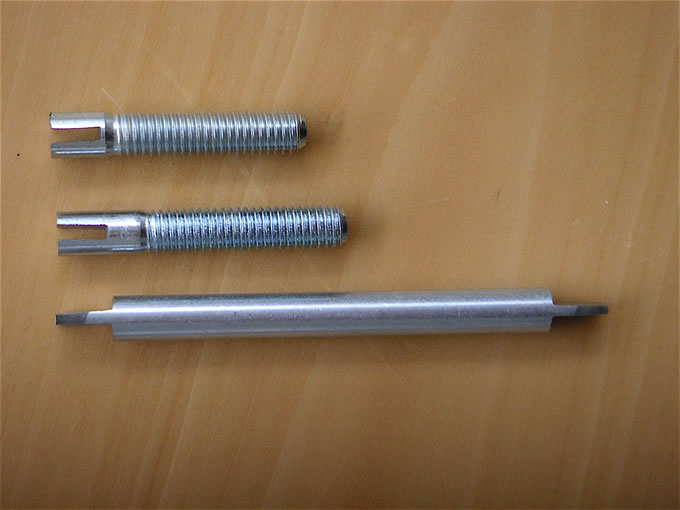
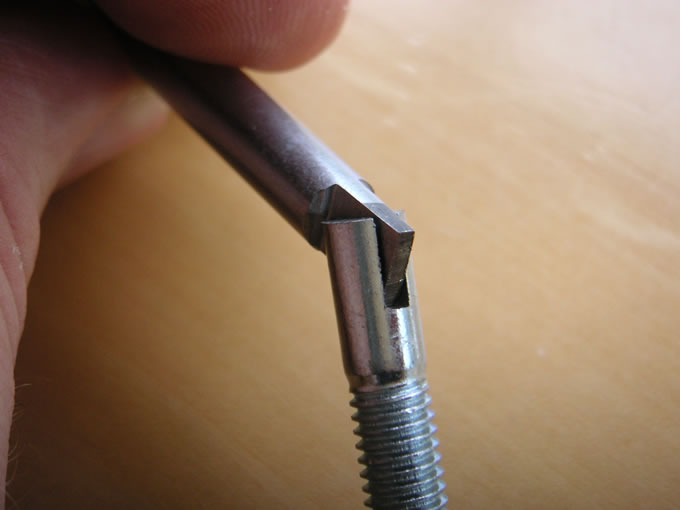
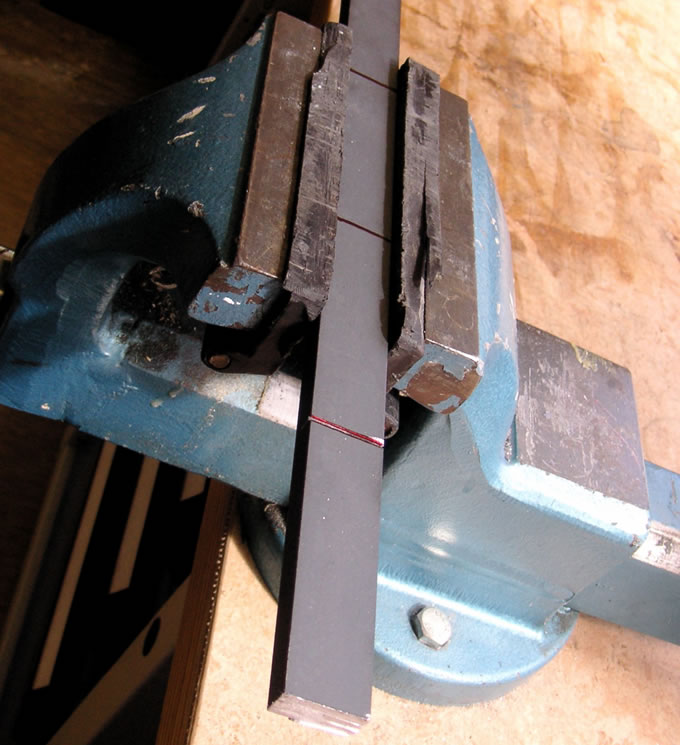
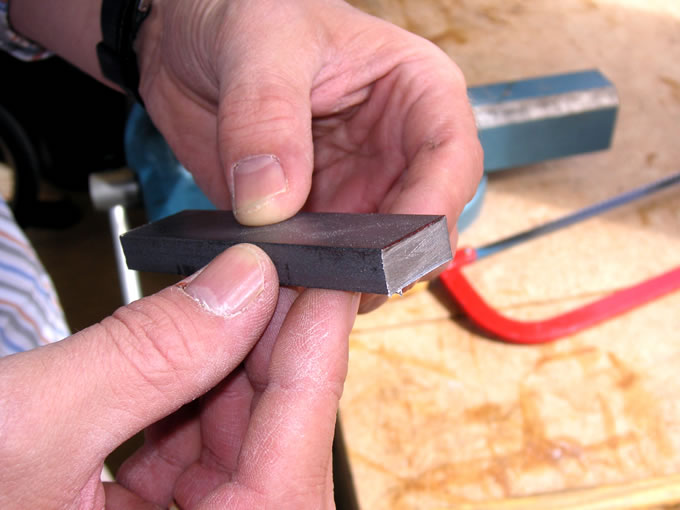
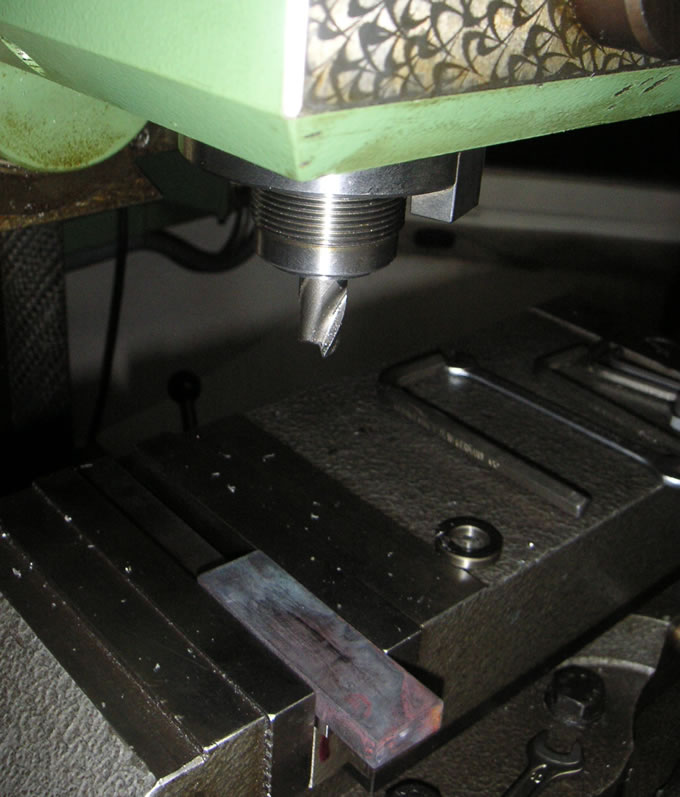
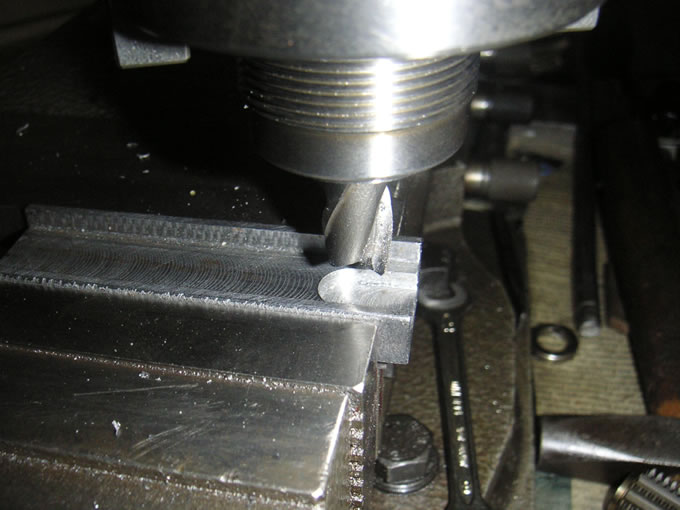
This photos show the making prozess and close up details:


-----------------------------------------------------------------------------------------------

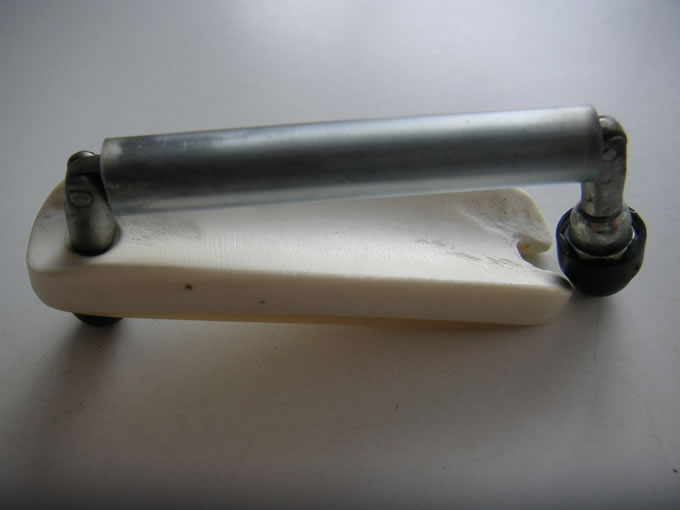
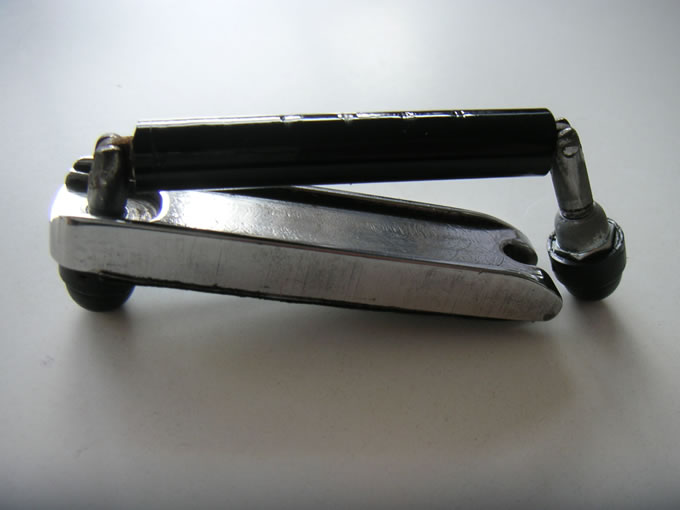
Following pictures show different capos I made during the past years: